
This summer I hiked with some friends who called themselves beginner hikers. Over the five days, I was reminded of things I once didn’t know or have since taken for granted as common knowledge. As a result, I’m writing a hiking 101 post covering how to plan hike, what to bring, favorite gear, and other considerations.
Make a Plan
My first piece of hiking 101 advice is to make a plan. Everyone on the hike should know the plan and should not rely on the leader. A plan includes a place to hike, a distance to hike, a time to meet, and much more.
Based on weather, location, time, and how I feel, I sift through guidebooks and the AllTrails app to help select the trails I want to hike. I took AllTrails for granted as I thought everyone knew about it. Not so! It is an excellent resource and will work without cell service should you FAVORITE the trail you plan to hike.
How to Select a Trail
While I already know my sweet spot, moderate 6-8 mile hikes, I learned that some beginners might not understand their abilities relative to the trail challenges. As a result, selecting a trail based on the best criteria might elude them. Here are some hiking 101 tips to help make a decision.
First, look at the distance. Most people know how far they can walk. Due to uneven surfaces alone, hiking is harder, so pick something slightly shorter.
Second, look at the elevation…both the beginning, the end, and the gain. Beginning a hike at 10,000 feet is much harder than beginning one at 7,000 feet, especially for flatlanders. Calculating the elevation gain per mile is also very important. Below I’ve defined my criteria for ranking easy, moderate and hard hikes in the Rocky Mountains. For those who don’t know me, I’m a relatively fit, 50-year-old woman who regularly hikes in altitude. Having said that, I have found similar type ratings on AllTrails.
Easy: Under six miles or an elevation gain of less than 500 feet per mile one way.
Moderate: Six to ten miles or an elevation gain of 500 to 700 feet per mile one way.
Hard: Over ten miles or an elevation gain over 700 feet per mile one way.
I use the conjunction “or” because there are some short, steep hikes that are hard or some long, flat hikes that are easy.

Third, when using an app like AllTrails, read the comments. They can be very helpful. Many hikers mention road conditions, parking conditions, and trail conditions.
Finally, I am mostly covering mountain hiking to which I am acclimated. Naturally, a flatlander might consider a 6-8 mile hike to be hard due to elevation. Additionally, people used to cold weather may consider a flat hike in hot, humid weather more difficult. Young bucks might think all hikes are easy! As a result, factor in all possible conditions with your abilities.
Share the Plan
After selecting your trail, share your plan with someone who isn’t on the hike. Provide details like where you are going and when you will be back. You never know what could happen. This is particularly important if you are hiking alone. Additionally, if hiking alone, it is a good idea to imprint a piece of tinfoil with the sole of your shoe footprint and leave it in your car. It can help search and rescue find you should you get lost.
While I’m on the subject of footwear, my hiking 101 advice is to purchase good shoes! After all, just walking with a blister is painful. Try hiking with one. Furthermore, good traction is very helpful on slippery terrain.
Because I have an extremely narrow, AA foot, I can hardly provide any recommendations for regular needs. That said, I prefer trail shoes over boots when possible. As much as I love ankle support for my unhealed avulsion fracture, boots are heavy and to me make hiking much harder. Furthermore, I have yet to find a boot narrow enough to fit my foot comfortably.
Consequently, I live in La Sportiva’s. They make a fortune off me. I buy at least one set of La Sportiva Bushido trail shoes every year! If you have a narrow foot, you won’t go wrong with these.
Pack Up
Anyway, with your plan in hand and comfortable shoes on your feet, it is time to fill your pack. Be sure to include the 10 essentials. Actually, I suppose I should address your pack first. There are so many packs on the market, that I could devote an entire post to them. In general, my hiking 101 advice is, find a pack that fits. That is the most important!

The easiest way to do this is to go to an outdoor store like REI and try on packs with weight in them. A sales associate can help with adjusting the straps in the correct order.
My favorite packs are Osprey and Deuter, but everyone has their preferences, and light weight thru-hikers would likely disagree with me. The Osprey has a great design, however, disappointingly it does not fit my long torso. On the other hand, the Deuter pack, out of Germany, fits me perfectly. I have a 30L day pack and 60L backpacking pack made by Deuter, both of which I love!
While I do enjoy having pockets in my pack, the other most important part of pack selection in my opinion is having a hip belt. The hip belt keeps the weight off the shoulders resulting in a much more comfortable hike.
The Ten Essentials
Moving on to the ten essentials. My hiking 101 advice is these items should always be in your pack. Yes, it seems like a lot to buy and to carry, but your life is worth it.
Navigation: A map, compass, GPS, personal locator beacon. A map and compass, the best option, aren’t that helpful if you don’t know how to use them. Consequently, I revert to alternatives like the AllTrails app. While you shouldn’t rely 100% on something that operates on a phone battery, it is a good tool. Pro tip: Begin with a fully charged phone and save battery with airplane mode, if necessary.
Furthermore, as a beginner hiker, stick popular trails where help is more readily available in a worst case scenario. For me, I review a trail map and utilize AllTrails. In addition, now that I am hiking alone (with my dog Annie) more often, I have invested in a personal beacon. Things happen, and I’ve been hurt on the trail more than once. After much research, I believe the Garmin InReach is the best option.
Headlamp: It might seem silly to bring a headlamp for hiking in the daylight, but it is an essential if you are caught overnight. Not to mention, sometimes in Colorado, we have to start a hike predawn in order to make it off the summit by noon.
Sun Protection: Sun protection includes sunscreen, sunglasses and protective clothing like a hat, long sleeves, or long pants. I know that seems hot, but clothing material is so light these days, I find long sleeves more cooling than short sleeves. While pants can be a bit warm, I’ve found pants to the knees protect me from scratching myself on fallen trees.
First aid: The smallest of first aid kits should at least include foot protection and insect repellent. Pain relievers, other medicines, and a bandana that may be used as a sling or a tourniquet are also useful items to include.
Knife or Multi-tool: A knife or multi-tool comes in handy when something needs to be fixed. Additionally, you may need to cut a stick to use as a brace for an injury.
Fire Starter: matches and lighter (two options are better than one in case they get wet). These are very important for warmth if lost in the woods overnight.
Shelter: a lightweight reflective blanket or bivy. These are also necessary for warmth if injured, stuck for hours in a storm, or standed overnight.
Extra Food: I regularly get asked, “What food I should bring?” Obviously, bring what suits your diet, but for long hikes, high calorie and light weight snacks are key. I tend to pack a PBJ or tuna fish, nuts, a fruit or protein bar, chips, and an apple plus extra snacks for emergencies.
Extra Water: Always bring more water than what you think you need or pack a water filter if you are hiking near a creek. I prefer a 3L CamelBak bladder as I will drink two liters of water in six miles. I use a CamelBak because I can suck from the hose as I walk.
Some people prefer Nalgene bottles as they can see how much water they have consumed more easily. I tend to drink less water this way, as I have to stop to remove the water from my pack. If it is going to be a long day, I may carry a small bottle of electrolytes in addition to the CamelBak.
Extra Clothes: I can’t stress extra clothing enough. I have been on hikes where I have started out in shorts and a T-shirt and ended up with every layer in my pack on my body…a hat, gloves, a sweater, a puffy jacket, and an outer shell. It is also important to carry rain gear. One of my favorite purchases is my ULA rain kilt. It is easy to slip on over pants and if it is not raining, it is great to sit on.

While I have covered all the essentials, I would be remiss if I didn’t bring up hiking sticks. Though not essential, I love mine and don’t leave home without them. Walking sticks relieve the pressure on your knees and help with balance and propulsion. Additionally, a few strips of spare duct tape may be wrapped around the poles for emergencies.
Technically, you should have two for balance, and of the people I know who use them (though not everyone does), I am the only hiker I know to break this rule. While I don’t recommend it, I only carry one because my hands are full with my dog and my camera. Also, I have a bad shoulder which gets aggravated with the extra arm movement. Regardless, in my opinion, hiking sticks are worth every penny.
Consider the Weather
Now that you are geared up and ready to go, my next piece of hiking 101 advice is to check the weather before heading to the trail. During the summers in Colorado, it is common for thunderstorms to roll in during the afternoon. A little rain might not seem dangerous to some, but it could be deadly.
First, rain in Colorado is not just a shower. It normally includes lightning, which is extremely dangerous, especially above tree line. As a result, I recommend hiking early in the morning and being off the summit of any 14er by noon. Additionally, watch for clouds approaching and cut your hike short if they look ominous.
Should you get stuck in the elements, employ the appropriate survival strategies like spreading out and NOT taking cover under the tallest tree, just to name a few.
Second, if it is raining in the mountains, it is likely cold. Being wet and cold could result in hypothermia. Be prepared for drastically changing weather by carrying multiple layers in your pack (see number 10 under the ten essentials).
Though I’ve been discussing weather issues in Colorado summers, other weather dangers here and elsewhere include flash flooding, winter snow, heat and even fire. Consequently, always know the potential hazards in your area. Abort your hike if conditions are not favorable.
Know Your Surroundings
Just as with knowing the weather, know your surroundings is important. Take them in as you hike. Remember landmarks which might be a weird tree or a tall peak. Recognize trail intersections. Even take a pic if it will help with directions later.

Additionally, beware of wildlife. I hate even bringing up wildlife concerns because 99% of the time, they will hear you first and disappear before you see them. Regardless, it is good know what to do if were to encounter a wild animal.
Also be cognizant of people. While I’ve never had anything bad happen to me on a trail, I have had an uneasy feeling a time or two, and they have been around people, not wildlife.
Enjoy Your Hike
My final piece of hiking 101 advice is to enjoy it! Hiking is both physically and emotionally rewarding. Take in the beauty of the forest, the landscape, the flowers, the birds, the rocks, the changing colors, the sky, the snow and so much more. Nature’s majesty is so special. Take only pictures, leave only footprints and have fun! ETB

Shop
Check out the photographic note cards and key chains at my shop. Each card has a travel story associated with it. 20% of proceeds are donated to charity.


What great tips!!
Thank you!
This is a great guide. It should be linked to all the Meetup hiking groups. I thought the footprint on foil was interesting. At one time I looked into developing a tread insert that would leave your initials in you footprint.
Wow. That is a cool idea about initials!! It would be more genuine if you linked it to some of those group or FB groups. Hint hint😃
I love that I’ve been hiking my whole life and I still learned some new stuff from this… like the footprint imprint tip and that favoriting trails on AllTrails allows you to use it offline. I’ve also never heard of rain kilts but they do seem less of a hassle than my rain pants. I’ll have to check them out! Thanks for sharing all of this! Just goes to show that there’s always more to learn.
I’m so glad my guide was useful. Yes, there is always more to learn! My best days are when I learn something new!
Fantastic advice! The footprint imprint is a great idea!
I heard that many years ago. I need to follow my advice more often!
What a fantastic guide. 10/10 👌🏼
Thank you visiting and commenting
Great advice, especially this year it seems that there are many new hikers who don’t know how to adequately prepare for a hike.
Thank you! Yes lots of people turning to nature this year! Hopefully they will stay safe and enjoy it.
Very nice advice on hiking!
Thank you so much and thanks for stopping by!
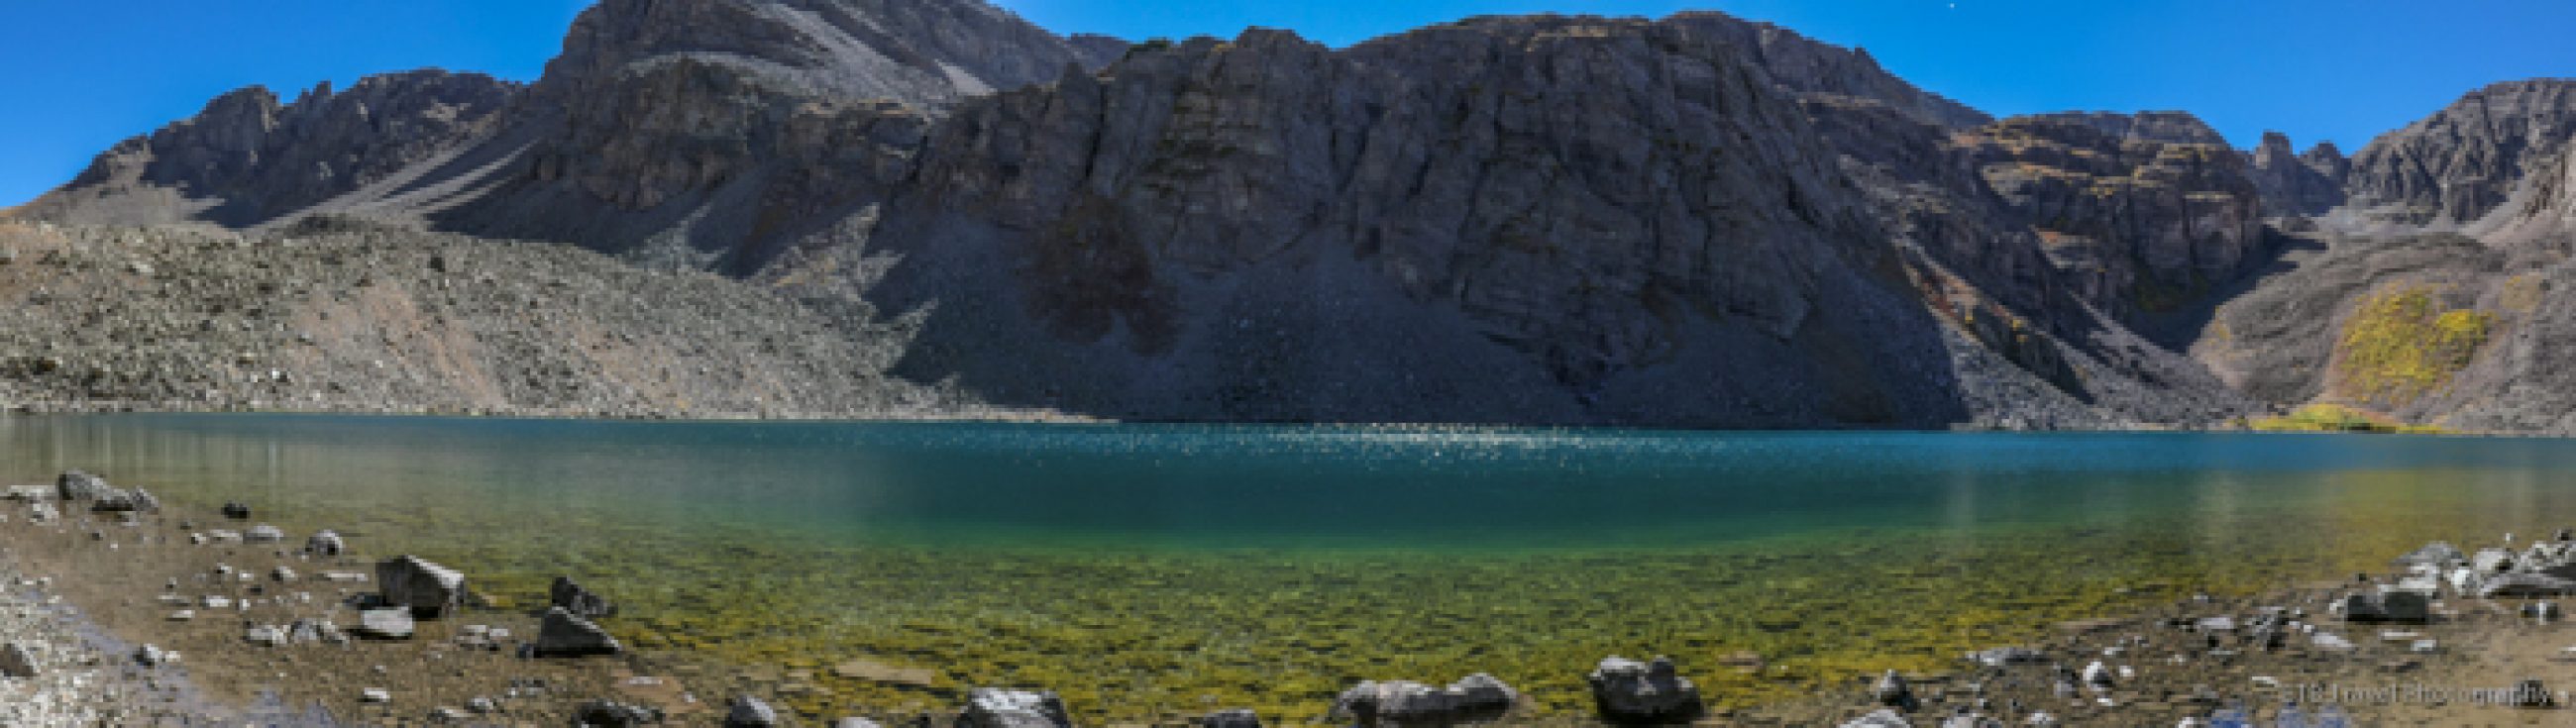
beautiful ice lake
Thank you
amazing photo!! thank you for sharing.
If you get a chance, please check out my gallery https://shopcoa.blog/photo-gallery/
would mean a lot!
nice gallery
thank you!
Brilliant guide thanks!
Glad you like it! Thanks for stopping by.
Great info! Thank you for sharing
Such a great post with so much great advice! I Hope every hiked reads it and treats it like bible. Thank you!
Thank you so much! I’m glad you liked it.